PINTA DE COLOR LAS PUERTAS DE TU CASA
- 5 jun 2020
- 6 min de lectura

A no ser que vivas en un loft completamente diáfano, las puertas de interior son un elemento fundamental en cualquier casa. Protegen nuestros interiores, los aíslan del resto de la casa cuando nosotros queremos, y nos dan intimidad si la necesitamos. Hoy vamos a mostrarte cómo puedes convertirlas en un recurso muy decorativo.
Lo más habitual en nuestras casas en que las puertas de interior sean del mismo material, color y acabado que es resto de las carpinterías. Es probable que sean de color blanco, igual que los rodapiés o las puertas de los armarios empotrados, si es que tienes en casa. De cualquier forma, esto no tiene por qué ser así.
Hoy te contamos cómo puedes darle a tu casa un aspecto único si te animas a pintar las puertas de interior de una forma original.
¿Cuál es la clave para un resultado perfecto? Elegir bien el color,en función de lo que quieras conseguir.
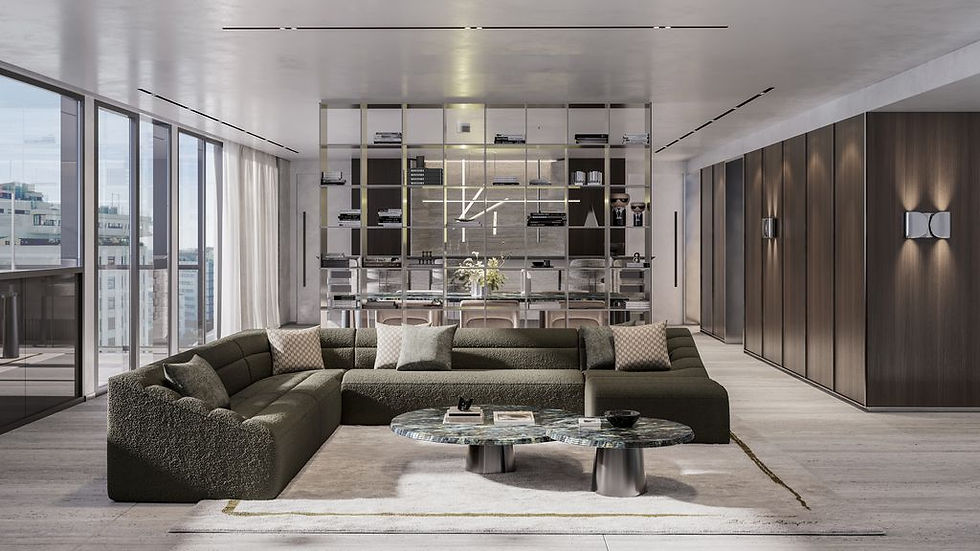
Para ello puedes utilizar colores vivos, intensos, que contrasten con los elegidos para las paredes. El efecto decorativo no puede ser más especial. Y si no, echa un vistazo a las imágenes que te enseñamos en este artículo. ¡Te van a encantar!
It is true; painting interior doors and trim in white or a contrasting color from the walls will make them stand out. However, painting them the same color as the walls will help them to blend in and almost disappear. This is a trick decorators and designers use in small rooms, narrow halls with lots of doors, and rooms with low ceilings.
A small room will visually seem more spacious because the white trim or doors aren’t there to stop your eye as you look around the room. As you look down a hallway with several doors, all the doors won’t jump out at you if they blend in with the walls. And if you have a room with low ceilings, painting baseboards and crown molding will make the room seem taller.

1. Los materiales. Antes de comenzar necesitas papel, plástico o tela para proteger el suelo, cinta de pintor (o de carrocero), una brocha plana, una brocha redonda (también sirven un rodillo y una cubeta), imprimación Todoterreno y esmalte al agua del color elegido.
2. Escoger el color. Nuestro criterio es unificar puertas y rodapiés con un mismo color.
Para seleccionar cuál es el apropiado antes hay que preguntarse si se busca dar un contraste entre las puertas de tu casa y el color de la pared o, por el contrario, se quiere igualar y dar una sensación de uniformidad. Cuando se apuesta por un tono que contrasta, las puertas se realzan y acaparan miradas que cuando se aplica el mismo color a paredes y puertas y estas pasan más desapercibidas desapercibidas. Si la pared tiene un tono neutro, como blanco, piedra o gris y se busca igualar nuestro consejo es escoger un tono más subido para las puertas, ya que dará un ligero contraste a las puertas y denota calidad. Si lo que se busca es contraste, nuestra recomendación es utilizar un color más intenso que el de las paredes para conseguirlo, como los grises y los piedras oscuros. Para las casas de campo solemos aconsejar arriesgar más con el color. Azules, verdes y amarillos generan más impacto en los espacios, imprimen carácter y mejoran el aspecto de la vivienda.
1. The materials. Before you start you need paper, plastic or cloth to protect the floor, masking tape (or body paint), a flat brush, a round brush (a roller and a bucket are also useful), off-road primer and water-based enamel in the chosen colour.
2. Choose the colour. Our criterion is to unify doors and skirting boards with the same colour.
In order to select which one is appropriate, you must first ask yourself if you want to give a contrast between the doors of your house and the colour of the wall or, on the contrary, you want to match it and give a sensation of uniformity. When you opt for a contrasting tone, the doors are enhanced and draw more attention to themselves than when the same colour is applied to walls and doors and they go unnoticed. If the wall has a neutral tone, such as white, stone or grey and you want to match it, our advice is to choose a higher tone for the doors, as it will give a slight contrast to the doors and denotes quality. If you are looking for contrast, our recommendation is to use a more intense colour than that of the walls to achieve this, such as greys and dark stones. For the country houses we usually advise to take more risks with the colour. Blues, greens and yellows generate more impact on spaces, imprint character and improve the appearance of the house.

3. Antes de empezar. Si se dispone de espacio suficiente para colocar cada puerta en un caballete, o en una superficie, y las puertas son fáciles de desmontar, quitarlas permite pintar el cerco mas fácilmente que cuando se mantiene en su sitio. En este caso, hay que que rodear la embocadura de las puertas con cinta para proteger y no manchar las paredes. Si se decide pintar las puertas en el sitio, sin retirarlas del marco, hay que manipularlas y abrirlas para acceder a todas las superficies de los cercos y jambas. Es importante proteger las bisagras, pomos y cerraduras con cinta de carrocero, ya que si no se hace, su limpieza posterior requerirá de mucho tiempo. Además, siempre se debe proteger bien la zona del suelo en la que se vaya a trabajar. Se puede utilizar papel, plástico o alguna sábana vieja. Una vez tenemos todo bien protegido, podemos empezar a pintar.
3. Before we start. If there is enough space to place each door on an easel, or on a surface, and the doors are easy to dismantle, removing them allows the fence to be painted more easily than when it is held in place. In this case, you should surround the mouth of the doors with tape to protect and not stain the walls. If you decide to paint the doors on site, without removing them from the frame, they must be handled and opened to access all the surfaces of the frames and jambs. It is important to protect the hinges, knobs and locks with masking tape, because if this is not done, subsequent cleaning will require a lot of time. In addition, the area of the floor where work is to be done must always be well protected. You can use paper, plastic or an old sheet. Once we have everything well protected, we can start painting.

4. El proceso.Tanto para las puertas de madera que ya están barnizadas como para las que están esmaltadas y se quiera cambiar el color, el proceso es el mismo: Se empieza por lijar superficialmente la superficie para romper el poro del barniz y conseguir más adherencia. Para aplicar tanto la pintura como la imprimación se puede usar una brocha, la llamada paletina plana –recomendamos las de los números 6, o 7- y ayudarse de una redonda para algunas zonas. También se puede usar un rodillo de esmaltar, para ello necesitaremos una cubeta y un buen rodillo y emplear la paletilla para algunas zonas.
4. The process: For both varnished and glazed wooden doors, the process is the same: The surface is first sanded to break the pores of the varnish and achieve more adhesion. To apply both the paint and the primer you can use a brush, the so-called flat brush -we recommend those of the numbers 6, or 7- and help yourself with a round brush for some areas. You can also use an enamel roller, for this we will need a bucket and a good roller and use the trowel for some areas.

5. La pintura.Se empieza aplicando una mano de imprimación y aconsejamos utilizar la llamada todoterreno, que permite poner encima una pintura acrílica, cuyo componente principal es el agua. Entre sus ventajas está la facilidad de aplicación, su rápido secado sin olores y una sencilla limpieza de materiales. Una vez seca la imprimación se aplican dos capas de esmalte al agua (directamente del bote, sin diluir) del color seleccionado. Es importante que la pintura se seque entre capa y capa.
5. The painting: We start by applying a coat of primer and we recommend using the so-called all-rounder, which allows you to put an acrylic paint, whose main component is water, on top. Among its advantages is the ease of application, its rapid drying without odor and easy cleaning of materials. Once the primer is dry, two coats of water-based enamel are applied (directly from the can, without dilution) of the selected colour. It is important that the paint dries between coats.


Pintar las puertas de la casa me parece una idea estupenda para conseguir una decoración mucho más llamativa y original. Existen un montón de colores ideales para poder elegir el que más se ajuste a tus necesidades. En https://lacasadelpintorshop.com/ puedes encontrar una gran variedad de alternativas.